


25 Oct WR250R Steering Bearings! Part 2
New Bearing Kit Install!
I went with the All Balls Steering Stem Bearings kit from Rocky Mountain ATV, Part # 1005880017, about $35 bucks!
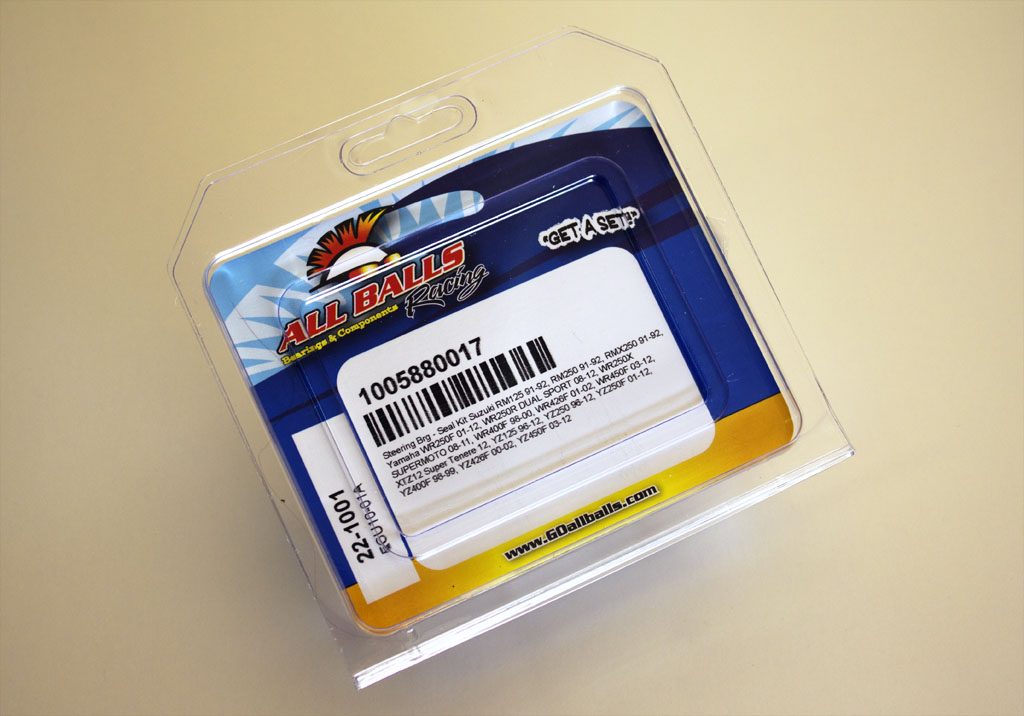
What’s in the box…

First thing to do now is.. put my steering stem in the freezer for later..

I forgot to mention in Part 1 how I removed the bearing races from the frame. Using a large flathead screw driver and rubber mallet, I carefully tapped the inside of each race, moving around the race often. It has to come out as evenly as possible, there’s just not that much tolerance to work with. Here you can see the top race as it comes out of the frame. From the bottom, I tapped the screwdriver evenly.. and it started to come right out.

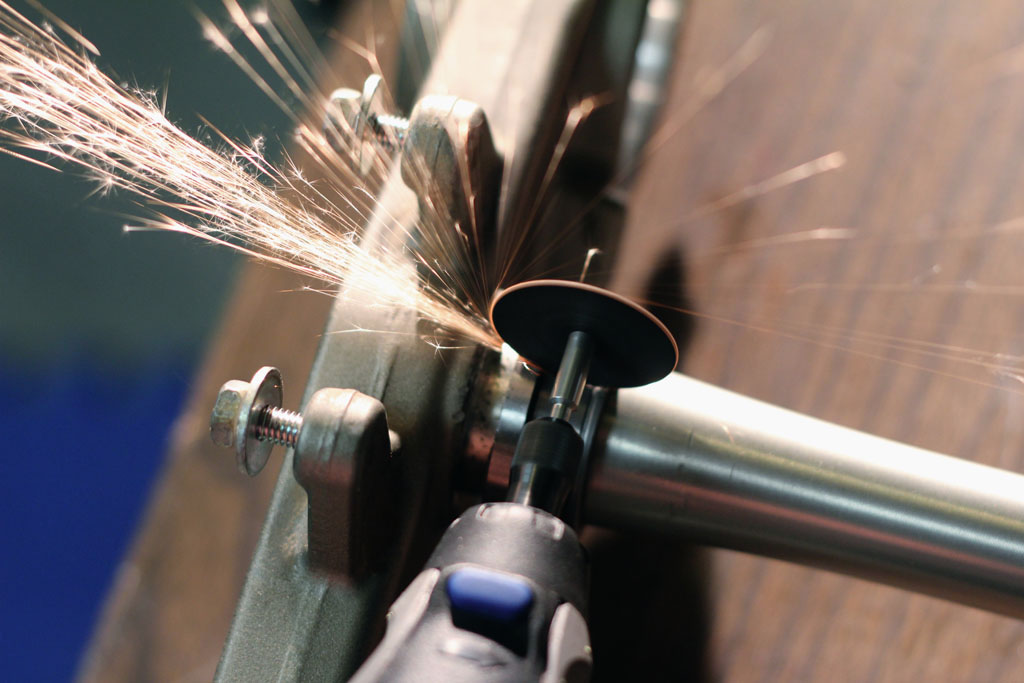
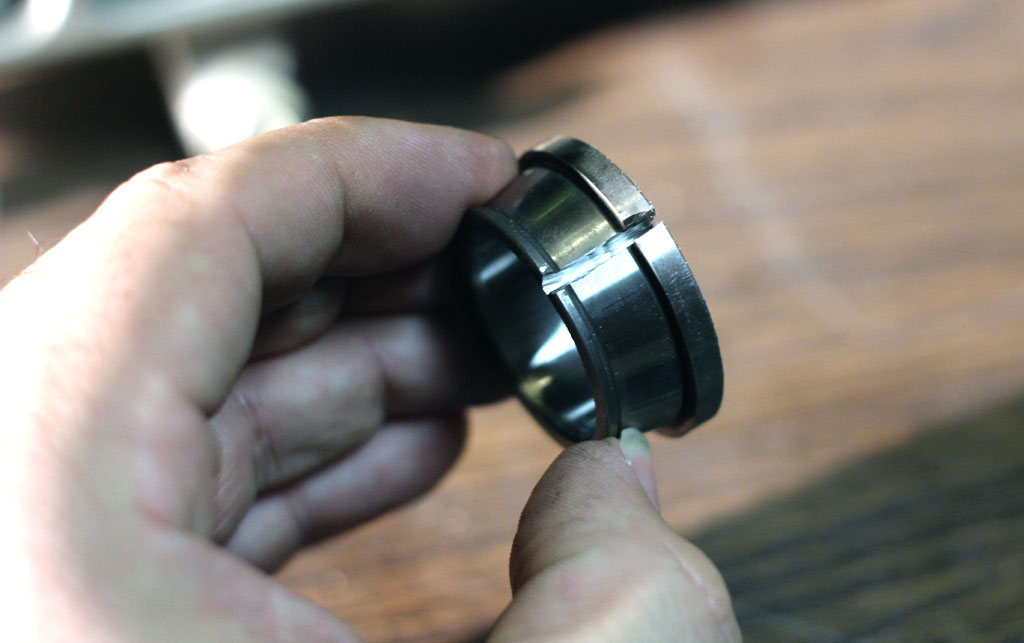
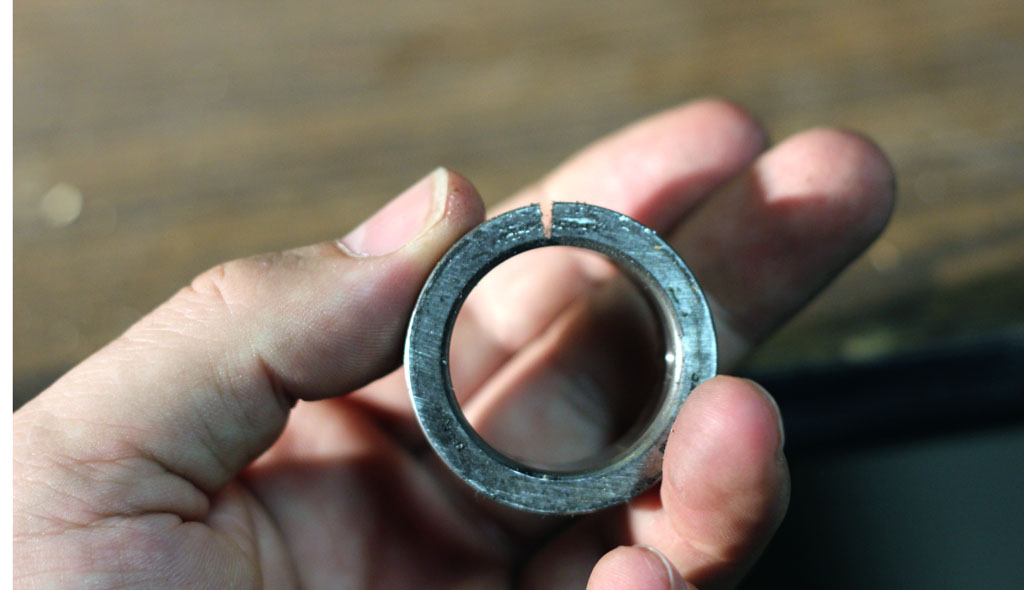
Now that my top and bottom races are out of the frame, its time to remove the bearing that’s on the steering stem. Using a pair of pliers, I twisted the bearing cage off, or use a dremel to cut it away. Now you are left with this…
Using a chisel, I pushed the bearing away from the clamp…

This gives me enough room to get my dremel on it to cut it off.

Being very careful not to hit the stem with the dremel… and you don’t have to cut completely through, as when it gets close the bearing will literally pop off, you’ll hear it snap!
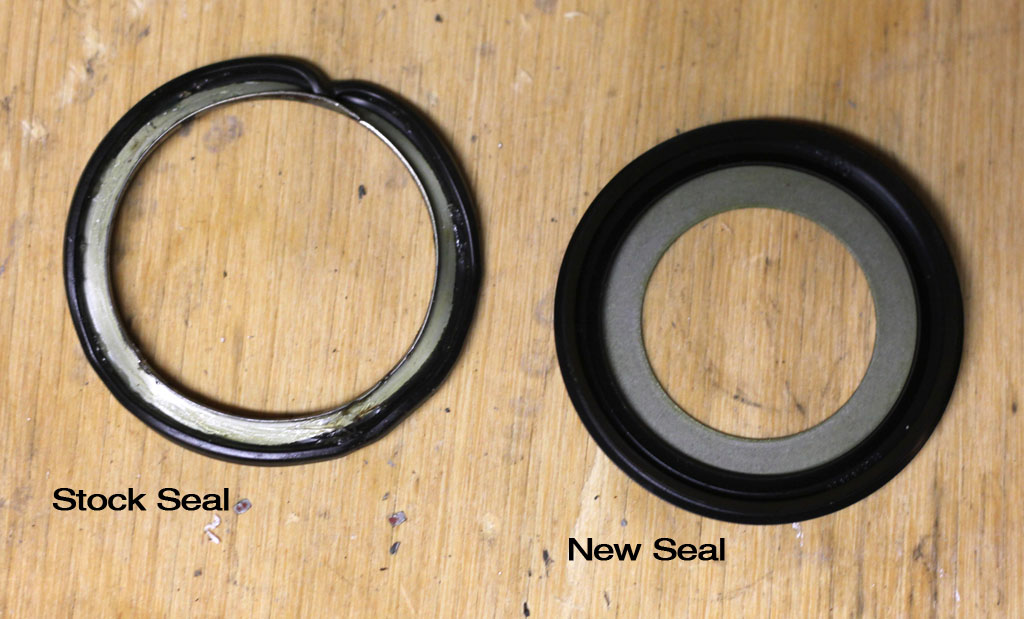
I was also shocked at how small the stock bottom bearing seal was compared to the new one I got in my kit.. no wonder why the bearing died on me!
DIY Bearing Press
Now its time to put the new bearing races in the frame… I’ve heard different opinions on this, some say they go right in with a hammer and piece of 2×4.. others have crazy trouble getting them on. Then there’s some who buy a tool for pressing them in, only costs about $15o bucks, or if you’re like me… make your own tool! (or bring your idea to your buddy who can weld up some stuff and let him make it.. haha!)
That’s what I did.. I talked to my buddy about making a bearing press with my old races, threaded rod, washers and a couple nuts. In about a half hour.. my bearing press was finished.
All you need is your old bearing races, then weld a couple of washers to them so the threaded rod has a good solid platform to press against. Well, pictures tell a thousand words so here it is..

I got the races started in the frame with a piece of 2×4 and hammer, making sure they go in very evenly. Then using my DIY bearing press, I placed the old races, which in opposite direction as the ones going in the frame, and tightened the nuts up. Each time I tightened the nut, I made sure the old race was perfectly on top of the new race in the frame.
Here’s the top one getting pressed in… use a large adjustable wrench on the other end to keep it from turning.
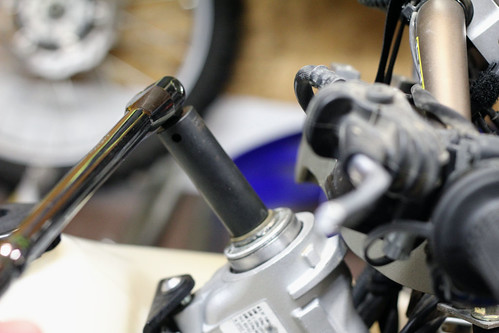
The short end is the one to tighten..
For the bottom race, I turn my press around and tighten it from the bottom…
Pressing the Stem Bearing
Ok, now it’s time to pack the bearings. Starting with the lower bearing first, its the one that has a larger diameter hole in it and has a bit of a rim on the bottom of it.
Get a good gloop of this stuff in your hand..
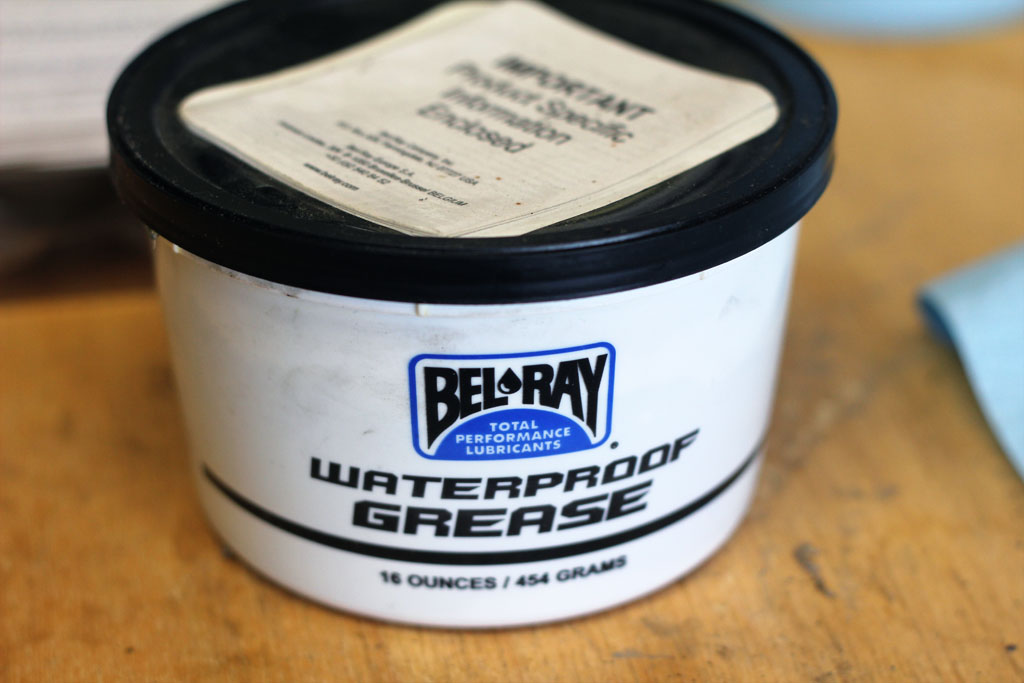
Roll the bearing into your hand, pressing firmly so the grease flows inside the bearing cage…

Next, put a layer of grease on both the top and bottom races. Now, I head back to the freezer for my stem.
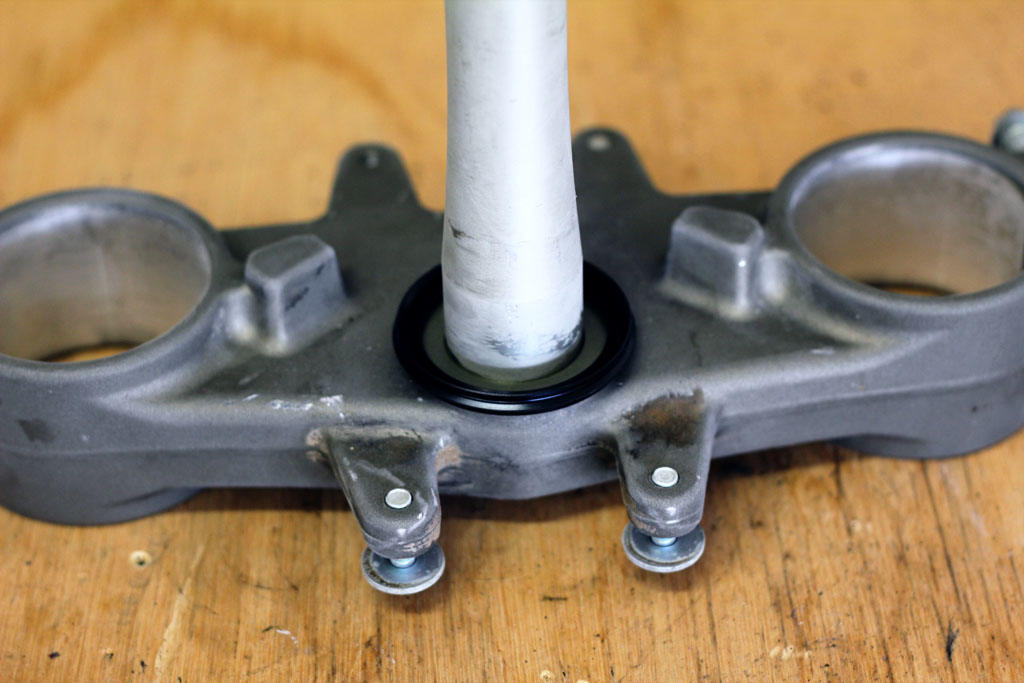
PUT THE LOWER SEAL ON FIRST THING!!
I saw many posts and YouTube videos online of guys using a piece of pipe to pound the stem bearing on the stem. Well.. this just doesn’t work, and I advise against it. Why? Because with these bearings, the bearing cage is set higher than the race they are on. So as you pound with that piece of pipe, you will damage, if not ruin, the bearing cage. It took me two trips to the hardware store to determine, that just won’t work.
So I went ahead and purchased a Tusk Steering Stem Bearing Installer from Rocky Mountain ATV as well. I’m sure you could also make something similar but you really need to get this one right!
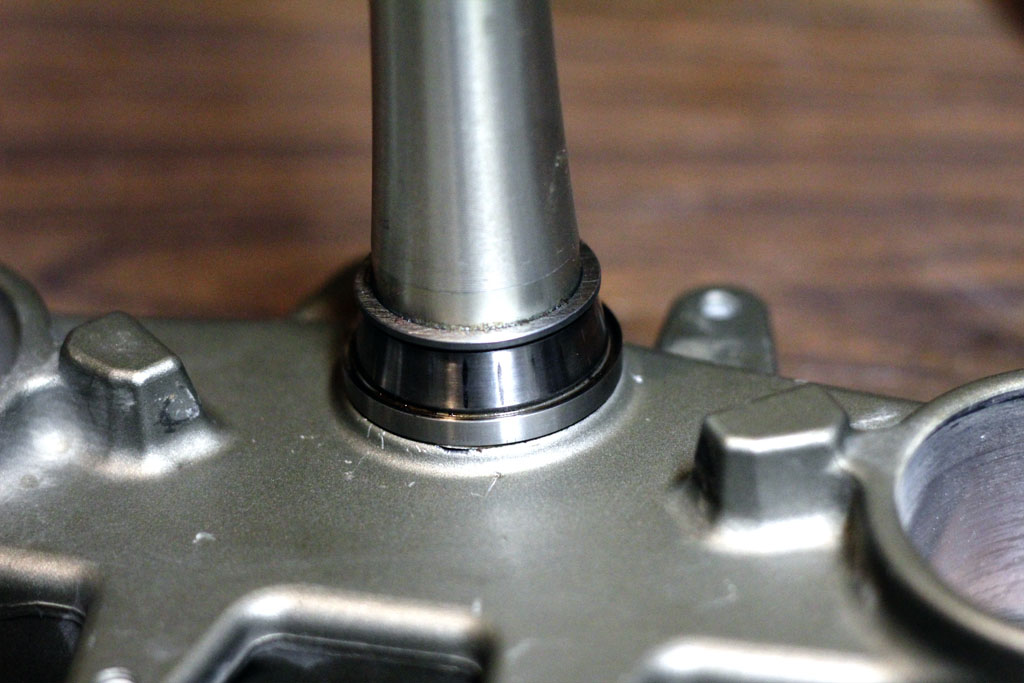
Here’s a shot of the installer sitting perfectly on the bearing… here you can see what I’m talking about..
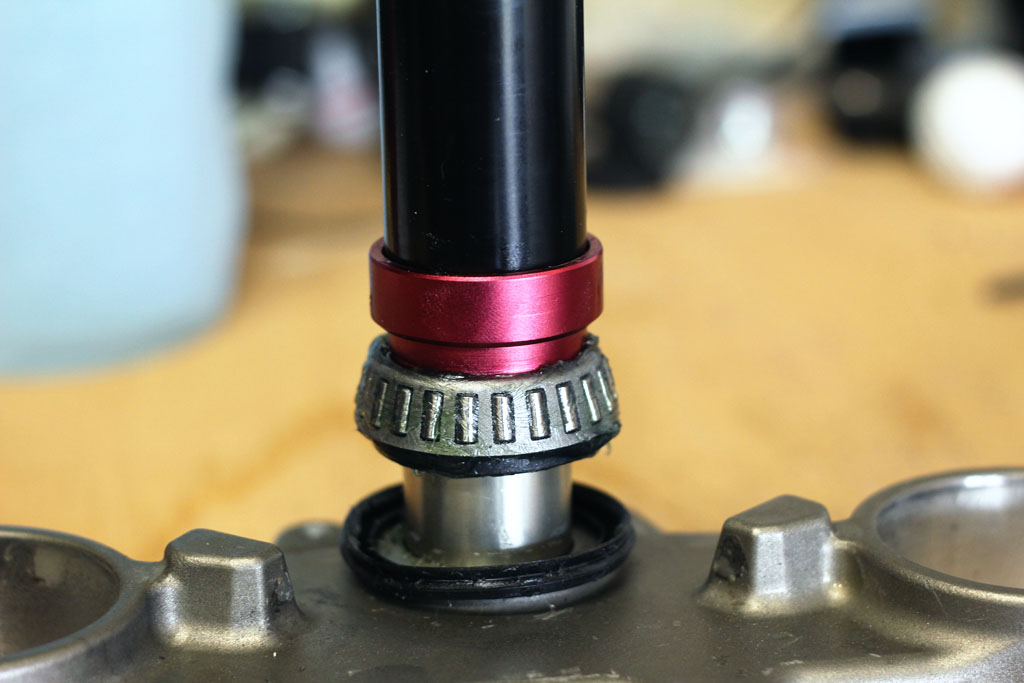
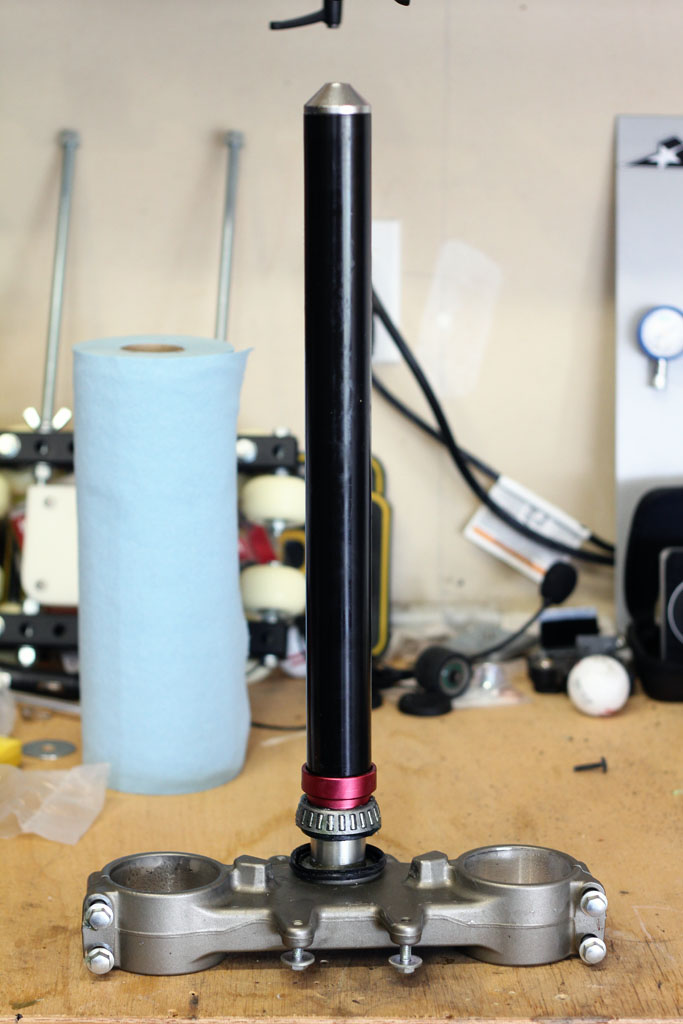
Using a hammer, a few good blows and the bearing is on! Now put some access grease up and down the stem…

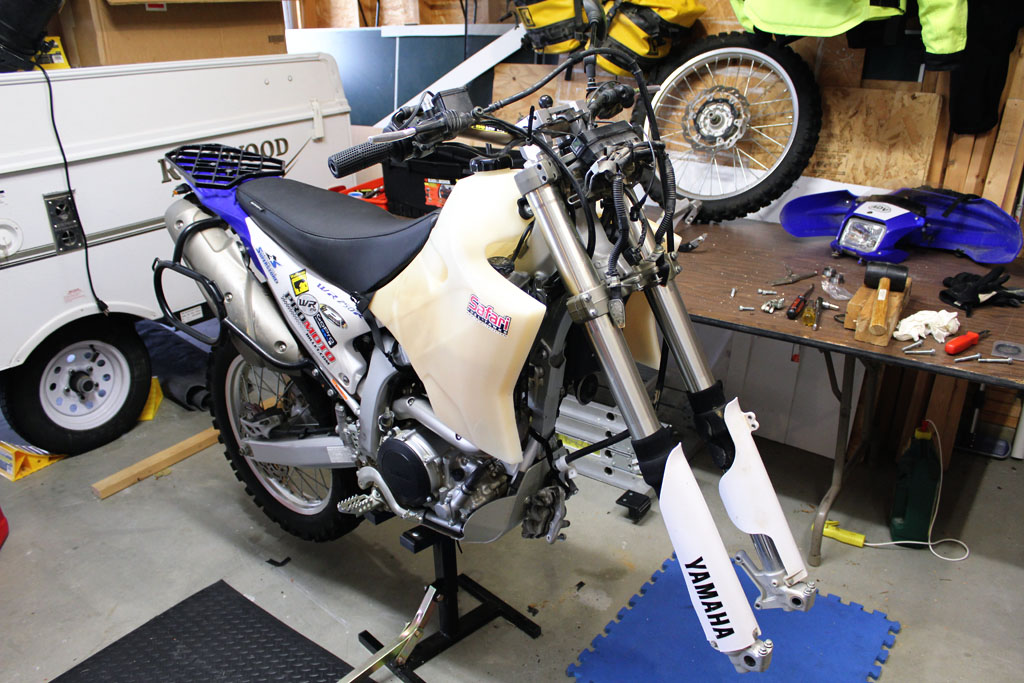
Installing Steering Stem
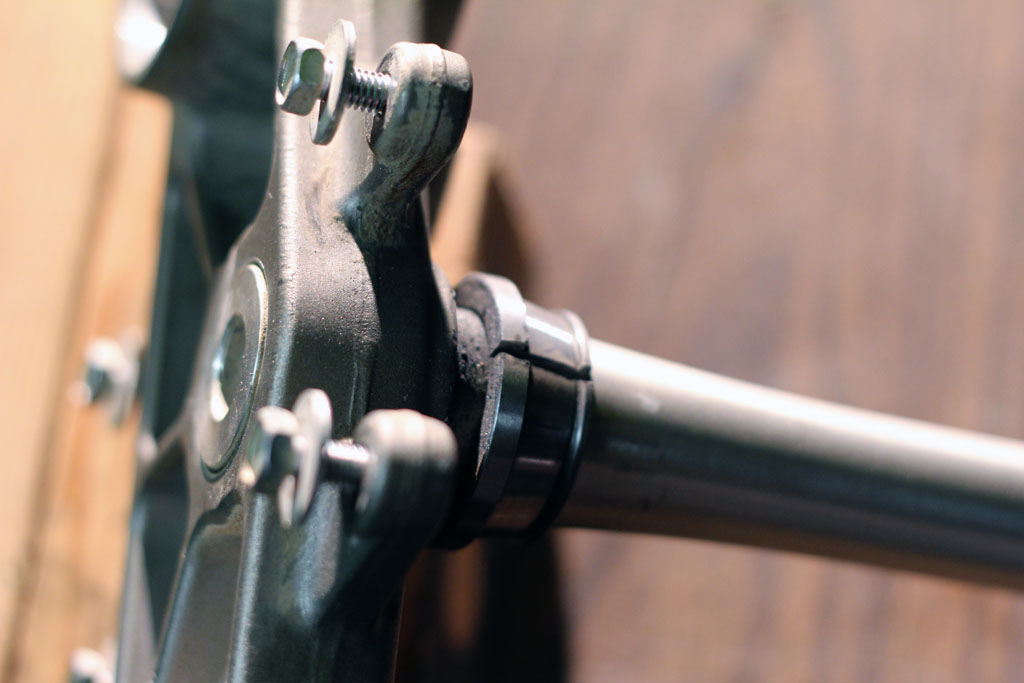
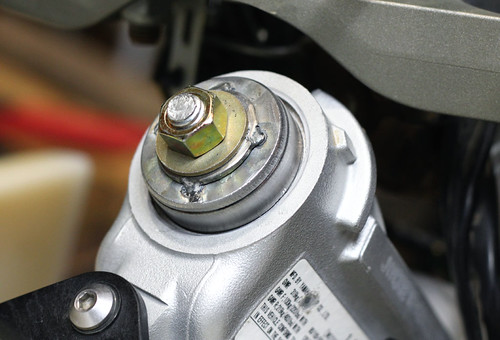
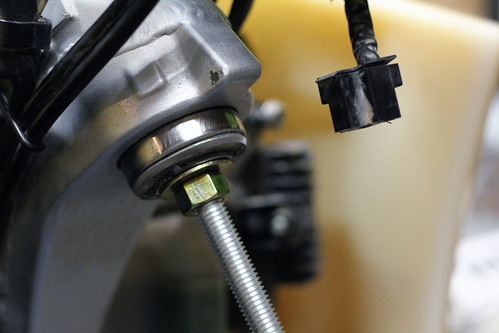
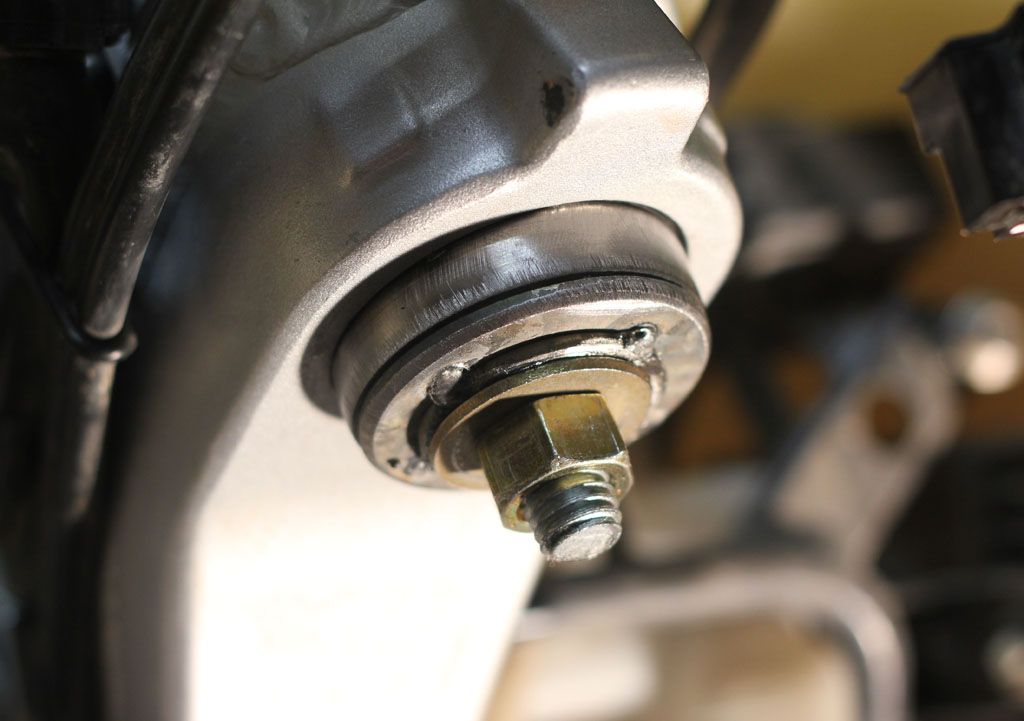
Everything is well greased and now I’m ready to put the steering stem back on the frame. Slide the stem through the frame, put the top seal on followed by the first locknut.
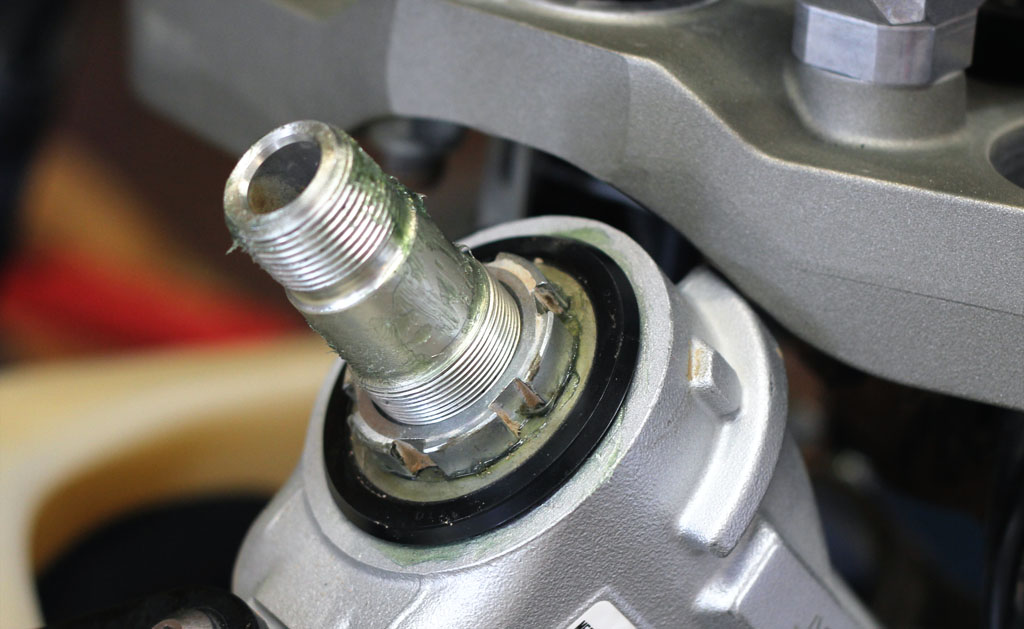
Second locknut and lock washer…

Now.. tighten up the locknuts just to keep it all in place. Set the top clamp on and then the top locknut. You kinda have to put it back together and then dial it in. We’re ready for the front forks…
For me, I installed the top clamp, bars(kinda) and front wheel, I left the fender and headlight off until I was happy with steering adjustments. The key is to make sure you absolutely feel no “wiggle” movement when you grab the front forks, and that the steering isn’t too loose. The front wheel, with a slight push, should fall to one side but not “bounce” off the frame stops.
I figured I’d get it as good as I could, take it for a short ride then check it again.. thats just what I did.
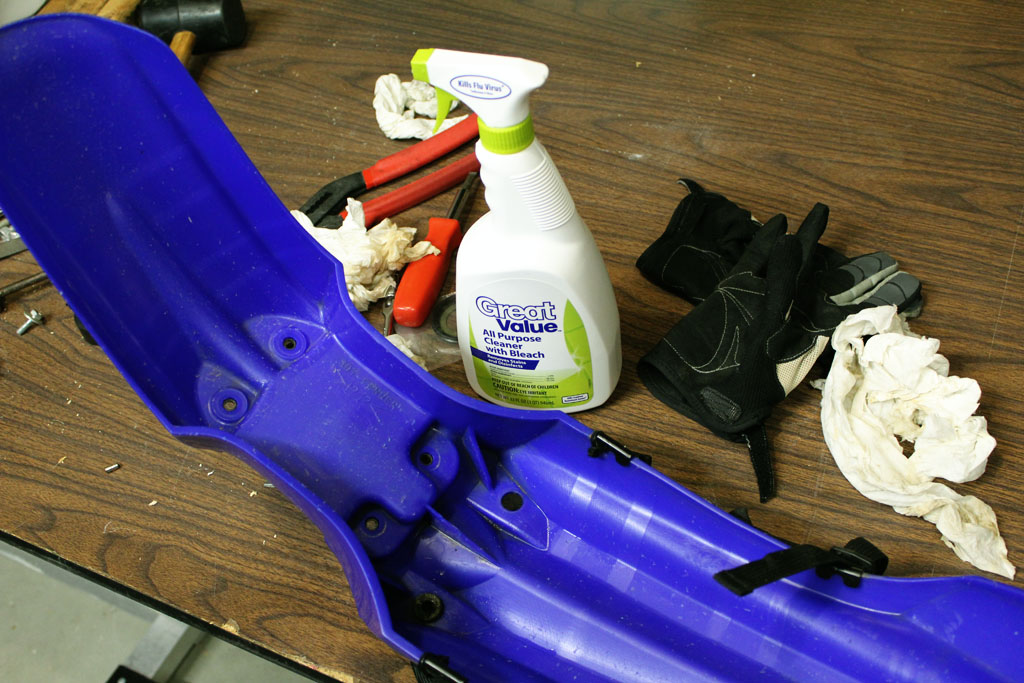
Oh yea.. before installing my front fender, I gave it a little love…
I’d also like to mention here the correct way to put on your front wheel to ensure proper alignment… watch this video to see how:
Nick
Posted at 03:13h, 07 Novemberthe grease up and down the stem is pretty unnecessary