


02 Feb Install Video – Eastern Beaver 3CS : Part 2
In Part 1 of my Eastern Beaver 3CS install I showed you how I pulled the wires up to the controls. Here in Part 2 I show you how I soldered all the connections, ran the fuse boxes under the seat as well as tidying up my new bars and a slight modification to my Cycra handguards.
I hope this video will help others out there getting ready for this install. If you have any questions on what I did please send me a note. Enjoy!
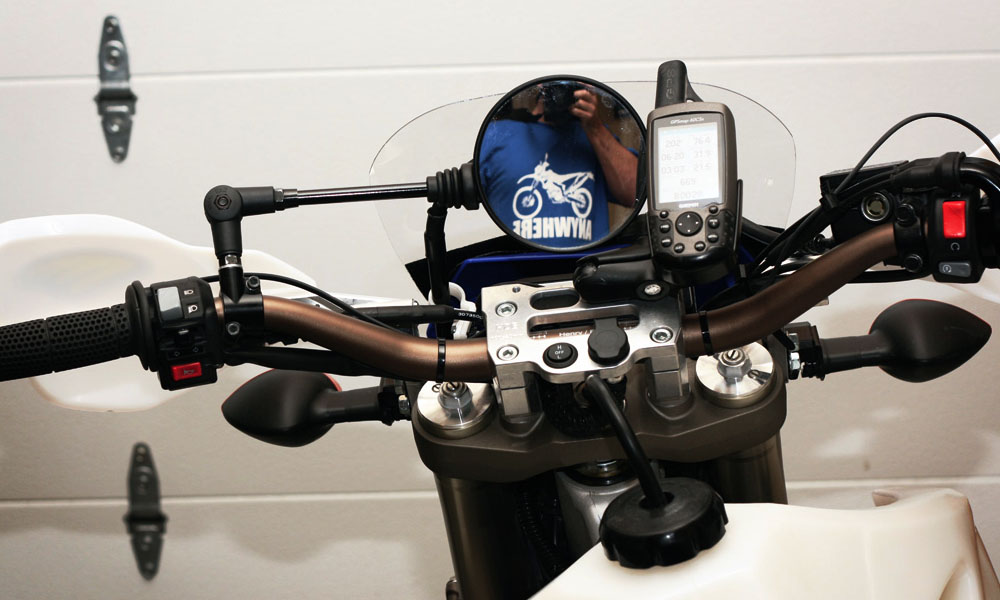
To mount up my GPS, I ordered a RAM ball mount, part # RAM-B-236U from GPSCity.com. With this setup I can get my GPS lower and still have great visibility. Last thing I want to do is see my GPS get demolished after a ”get off”! Here’s some final shots:
Diagrams
Symtec Motorcycle Grip Heaters Diagram

Powerlet Socket Diagram

Chris Luhman
Posted at 06:51h, 03 FebruaryNicely done. It will make it much easier for me to copy your clean install 🙂
Any extra info about that rocker switch?
Basher
Posted at 15:11h, 03 FebruaryYou can buy it here: Dual-Star.com Real nice and low profile!
Scott MacDonald
Posted at 12:35h, 23 FebruaryVery, very nice! All the parts are ordered and on the way. This is going to make life a whole lot easier.
Thanks!!!
Buck Greene
Posted at 17:13h, 07 SeptemberGreetings Bill,
Did you order the 3CS with all fuses switched, or with one fuse unswitched? If one fuse unswitched, what did you connect/do you intend to connect to the unswitched circuit?
Gratefully,
Buck Greene
Basher
Posted at 07:52h, 22 SeptemberBuck,
Sorry I must of missed your post! I have the one fused unswitched, which I like to run either to a powerlet outlet OR to my GPS. On my WRR I ran it to my Powerlet on my HDB clamp so I could plug any auxiliary device into it… for example if the bike broke down and my cell phone battery was dead, I could charge it from the moto battery 🙂
Spencer Ellingson
Posted at 23:25h, 12 SeptemberHi Basher,
Just had my CS3 arrive! Still unclear how to identify the right wire to tap the relay into. Any tips on how to identify the right wire?
Sincerely,
Spencer Ellingson
Basher
Posted at 07:20h, 13 SeptemberHey Spencer…. what I did was started at the taillight and followed the wires back towards the battery box. The blue is essentially the running light wire, so when key is on, wire is hot. Thats what you want…